


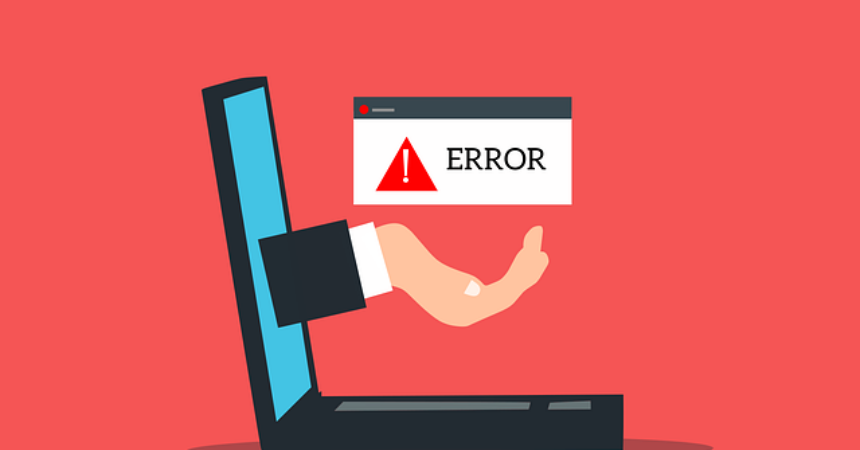
One of the most common types of error that one may come across is ERR_NAME_NOT_RESOLVED, hence we must discuss the various ways to overcome it and access different websites freely. The most probable of all the cases must be with one’s device or the browser.
Usually, on Android phones, it can even appear on Google Play Store and the third-part applications as well. This error can also appear on Google Chrome, MacOS, or iOS. This error is usually converted to an operating system (an interface between our systems and the computer’s hardware,
It means that a software which can perform all the basic task of our computer system) that cannot reach the DNS (Domain Name System) address (it translates to that database which contains the IP addresses of various websites which we can surf online).

That is, it is unable to make a conversion and it seems like that the site is not available. In simple terms, this error appears on the screen when the user is trying to open a website in his/her browser but unfortunately, that site cannot be reached because the IP address cannot reach the DNS address, and hence one can see this error on their screens.
This problem can either be in the user’s device or maybe on their browser example – Google Chrome. The internet connection of the user is indifferent because whatever you are using either Wi-Fi or mobile data, it doesn’t depend on that.
Read Also:
What is ERR_NAME_NOT_RESOLVED?
The ERR_NAME_NOT_RESOLVED error typically appears in web browsers when users attempt to access a website. This error message indicates that the browser is unable to resolve the domain name of the website into an IP address, which is a crucial step for accessing any website on the internet.
Causes of the ERR_NAME_NOT_RESOLVED Error:
Several factors can contribute to the occurrence of the ERR_NAME_NOT_RESOLVED error. Understanding these causes is essential for effective troubleshooting. Common causes include:
- DNS Server Issues: Problems with the DNS (Domain Name System) server, which is responsible for translating domain names into IP addresses, can lead to this error.
- Network Connection Problems: A weak or unstable network connection might prevent the browser from reaching the DNS server.
- Incorrect Browser Settings: Sometimes, incorrect configuration in browser settings can cause this issue.
- Faulty Router or Modem: Issues with the router or modem can disrupt the network connection, leading to this error.
- Firewall or Antivirus Interference: Occasionally, firewall or antivirus settings can block the browser from accessing certain websites.
- Cached DNS Data: Outdated or corrupted cached DNS data in the browser or operating system can result in this error.
How To Fix ‘ERR_NAME_NOT_RESOLVED’ in Google Chrome
The site you are trying to access is your website, and it returns ERR_NAME_NOT_RESOLVED
Now, this is important to understand. When you build up your website, you get your hosting (these are the online service providers that help an individual to get their data or to post a website on the internet) done with it, or in another case you can use different hosting providers available online.
Then you are given different name servers, which you can also update during the time of your domain name registration. For example, rovingsavant.com is hosted with Bluehost service providers, they gave me the name servers and then I updated it during the time of the domain registration with WordPress.
The steps involved in this are
Step 1 – Your website settings can be checked by writing intodns.com/your-domain-name.com. For example, I’ll write intodns.com/rovingsavant.com
Step 2 – If your website is not working that you can have a look and make out what the fault is.
Step 3 – Press the Windows Key and R key together, and then typing ‘cmd’ and press, okay, to confirm all the changes.
Step 4 – Check by typing nslookup your-site.com and then press the enter key.
Step 5 – After this, if any kind of error persists then, it indicates that there is some fault and you must immediately contact your hosting service provider.
The site you are trying to access is a general site, that is accessible everywhere but not just on your device
1. Change The DNS Server
As I have explained earlier that this error could be with your browser as well as your device settings. And if this is the case then, most probably your device setting might not be configured properly or else your ISP’s (internet service provider) servers may be low or down and hence you aren’t able to access the site on your device which is available everywhere.
These are the following series of steps that you can follow to change your DNS server settings in your device.
Step 1 – Start Menu, go to Control Panel option, click on the Network & Internet option, and then click on the internet connection that you are using.
Step 2 – Open properties by left click and then double click on the option of Internet Protocol Version 4.
Step 3 – Enter 8.8.8.8 as your preferred DNS option.
Step 4 – Enter 8.8.4.4 as your alternate server option.
Step 5 – Click Okay.
Step 6 – Try running this and if it works then you can again start working on your internet and can access the site which you were trying to reach earlier.
2. Updating your DNS on a MAC OS X
In case if you are using any apple products, then these are the steps that need to be followed for changing the DNS settings on your MAC OS X
Step 1 – Click on the Apple icon on the topmost left corner of the screen.
Step 2 – You will come across an option of System Preferences, click on that.
Step 3 – Click on the Network icon from the “Internet and Wireless” section in the System Preferences.
Step 4 – On the left side, from the options available click on the network connection service that you want to use. Example, Ethernet, Wi-Fi, or Bluetooth.
Step 5 – You will see an “advanced” button at the bottom of the screen and then click on that.
Step 6 – Once your advanced settings are opened, there will be five options available and choose DNS (2nd option).
Step 7 – Click on the ‘+’ icon from the bottom of the screen to add your DNS server address in your DNS server field.
Step 8 – Change the server to 8.8.8.8 and then click ‘+’ to add another DNS address as 8.8.4.4
Step 9 – Then, at last click on the Okay button and then Apply, so that all your settings will be saved.
3. Clear Google Chrome’s Host Cache And Disable Predict Network Actions
While we have been discussing how to update the DNS settings of your device, it might have been the fault with your browser as well. So, its time to look upon the changes that can be done in the browser settings so that you can access the site you want.
These are the steps that need to be followed –
Step 1 – Open Google Chrome and click on the three dots, which appear on the topmost right side of your system screen.
Step 2 – Click on the Settings option from there.
Step 3 – Go to the button of “Show advanced settings” and then click on the ‘Privacy’ option available.
Step 4 – Under the ‘Privacy’ option, one can find many checkboxes, find Prediction services, or Predict Network actions to disable them.
Step 5 – If the checkbox has as a tick, then remove it by clicking on the tick, and hence, this will disable the prediction services and press okay to save all the changes.
Step 6 – Type ‘chrome://net-internet/#dns in the address bar and press enter
Step 7 – You will see Host Revolver Cache, in front of the button ‘Clear Host Cache’, and this way all your Host cache will be erased and then, you will be able to access the site successfully.
FAQs:
- Is the ERR_NAME_NOT_RESOLVED error specific to a particular browser?
- No, this error can occur in any web browser, though the exact message might vary.
- Can this error be caused by the website itself?
- Rarely. It’s usually related to the user’s network or device settings.
- Should I always change my DNS server when facing this error?
- While changing the DNS server is a common fix, it’s not always necessary. Other solutions should be tried first.
- What if the error persists after trying all solutions?
- If the issue continues, it might be due to larger network issues, or the website could be temporarily down. Contacting your ISP or waiting for some time before retrying can be helpful.
- How do I know if my firewall or antivirus is causing the issue?
- Temporarily disabling these programs can help determine if they are the cause. Ensure that you turn them back on after testing.
By understanding the ERR_NAME_NOT_RESOLVED error and knowing how to address it effectively, users can ensure seamless internet browsing without unnecessary disruptions.
Read Also:
Conclusion
Thus, we can conclude that, if this error is flashing on the screen then there are many ways to overcome this which we have earlier discussed in the article. It is a simple error, which comes when the IP address of a website you are trying to access can’t be found on the internet.
I hope this will be useful to you and you will be able to remove this error yourself, without contacting a technician!