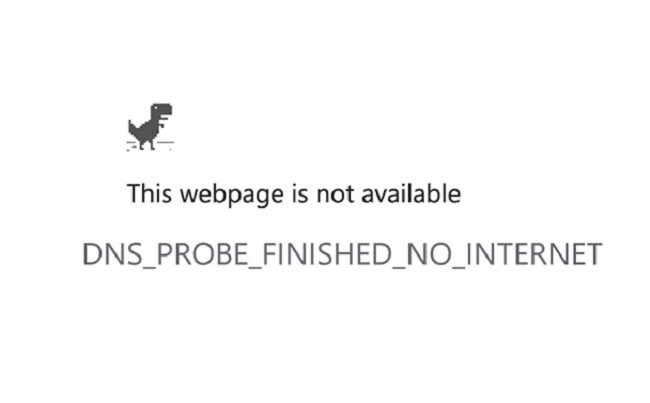
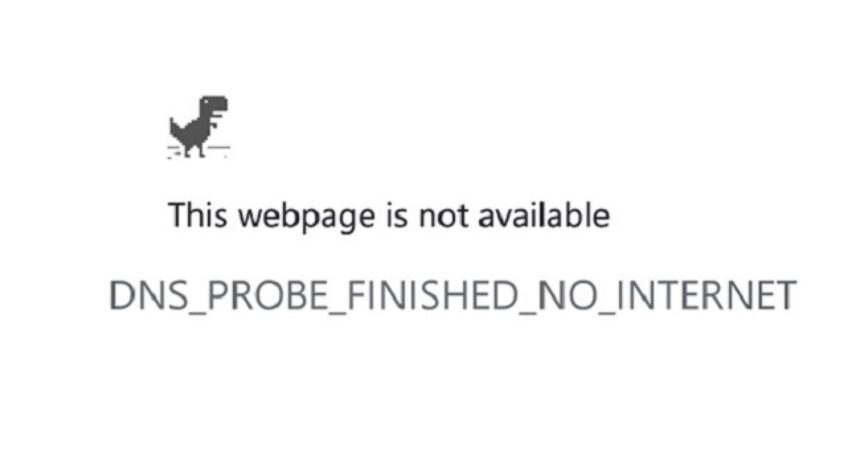
Usually when you are browsing the internet through Google Chrome Browser DNS_PROBE_FINISHED_NO_INTERNET error appears. If you don’t know, DNS stands for Domain name system service it helps in translating IP address to Hostname and Hostname to IP address.
As the computer only understands the IP address, when we type any Hostname, using DNS browser converts the Hostname into the IP address of that particular website. When DNS fails to translate Hostname to IP address or IP address to Hostname, DNS_PROBE_FINISHED_NO_INTERNET error occurs.
We saw that in how many ways this annoying problem can occur, but you don’t have to worry now. Just follow the steps as mentioned below to fix this issue permanently, so it won’t bother you again and again. These methods work with all latest versions of Windows including Windows 10, Windows 8.1, and Windows 7.

Steps may vary according to the OS version you are using. In Case you are using an internet router, we prefer you saving the current setting before proceeding with steps mentioned.
Read Also:
What is DNS_PROBE_FINISHED_NO_INTERNET?
The DNS_PROBE_FINISHED_NO_INTERNET error is a common issue that users face when using web browsers like Google Chrome. This error message indicates that the browser was unable to connect to the internet.
DNS (Domain Name System) is essentially the phonebook of the internet, translating domain names into IP addresses. When this process fails, the error message is displayed.
Causes of the DNS_PROBE_FINISHED_NO_INTERNET Error:
Understanding the root causes of this error is essential for effective troubleshooting. Common causes include:
- Issues with DNS Settings: Incorrect DNS settings or problems with the DNS server can lead to this error.
- Internet Connection Problems: Weak or unstable internet connections are often the culprit.
- Firewall or Antivirus Blocking: Sometimes, firewall or antivirus settings may prevent your computer from accessing the internet.
- Outdated Network Drivers: Outdated or corrupted network drivers can also cause this issue.
- Browser or System Errors: Occasional bugs in the web browser or operating system can lead to this error.
Fixing DNS_PROBE_FINISHED_NO_INTERNET On Windows 10
1. Change DNS Server Settings
Step 1: – Press and hold the Windows button and the X button.
Step 2: – In the menu that will appear to click on the Control Panel option.
Step 3: – In the Control Panel window, double click on Network and Internet icon to open it.
Step 4: – Now you will see the network and sharing center option and click on it.
Step 5: – In the right side of the Network and Sharing center window click on the Change adapter settings link.
Step 6: – Now List of network adapters will appear. You will see the network adapter that you are using and right-click on it.
Step 7: – After you right-click the network adapter, click on the Properties option you will see there.
Step 8: – A New Properties window will open. You need to look for the Internet Protocol Version 4 (TCP/IPv4) option.
Step 9: – Open the Internet Protocol Version 4 (TCP/IPv4) option by double clicking on It
Step 10: – After selecting the above option, an another property window will be opened
Note: in this Properties window you will get the access to the settings for the internet protocol.
Step 11: – Now select, Use the Following DNS server address: Option by clicking on it.
Step 12: – There will be a Preferred DNS server field. You have to put 208.67.222.222. in that field
Step 13: – There will be another Alternative DNS server field. You have to put 208.67.220.220. in that field
Step 14: – There will be a small box near Validate settings upon exit message. You have to check that box by clicking on it
Step 15: – Click on the OK button which will be there situated in the lower side of the screen
Step 16: – Now close all the windows that you have open.
Note: You can also use Google’s public DNS server and set 8.8.8.8 as Preferred DNS server and 8.8.4.4 as Alternate DNS server.
2. Change Eouter DNS Server Settings
Now in following steps we will check the Routers settings and as we did in above steps, we will put the same Preferred DNS address and alternative DNS in the router settings.
Step 1: – Once you have configured the Router’s settings (from above mentioned steps) go to the Start button on the desktop.
Step 2: – Type the following text CMD.
Step 3: – Now press the Enter button on your keyboard.
Step 4: – Click on the Command Prompt icon that you will see after search.
Step 5: – Now you will see the Command Prompt window you have to type the following text IPCONFIG /ALL without using the quotes.
Step 6: – Again press the Enter button on your keyboard.
Step 7: – Now you will see the text appeared on your screen. Search for the name of the network adapter that you are using.
Step 8: – Under your network adapter, you must be having there a field which will show the Physical address and next to it, you will be having the following code or something similar to it 78-DD-08-F1-DF-B0.
Step 9: – Now leaving your command prompt window open you have to go again to the start button and again write NCPA.CPL without using the quotes.
Step 10: – You will see the name of the network adapter you are using. Right-click on the name and left-click on the Properties option.
Step 11: – Properties window will be opened. In the properties window you have to click on the Configure button that you will see there.
Step 12: – On the upper side of the window you will see the Advanced Tab. Click on that tab.
Step 13: – Click on the Network address option that you will see there.
Step 14: – You will see the Value option in this window. You will have to select this option by clicking on it.
Step 15: – There will be a Value field, you have to type the address that you had saved a few rows above.
Note: The example address which was shown was, 78-DD-08-F1-DF-B0, so you must type the address you have, in the Value field without the using lines. For example: 78DD08F1DFB0 without using the quotes.
Step 16: – Click on the OK button that you will see on the lower side of this window.
Step 17: – Now you have to Restart your Windows 10 device.
3. Update Your Network Drivers
Once you are done with steps 1 and 2, you can also have a look at the network adapter manufacturer’s website and should install the latest driversn.
Once you’ve updated your network drivers, reboot your computer and check your Internet connection.
The best solution is to update your driver by using a dedicated tool. Above mentioned steps will solve your problem most of the times.
4. Disable your Firewall
Sometimes it may happen that above-mentioned steps may not work and error may still appear, then should try disabling your Windows Firewall or your third-party firewall software to see if this is the root cause of the error message.
5. Update Your Browser
You can try updating your browser if you are still facing the DNS_PROBE_FINISHED_NO_INTERNET error code. If this doesn’t help try installing another browser, to see if this might solve the problem
6. Flush DNS
In case if above mentioned steps too don’t work then you can do the following steps –
Step 1: –You have to launch Command Prompt as administrator.
Step 2: – Then you have to enter the following command and hit Enter after each one:
- ipconfig /flushdns
- ipconfig /registerdns
- ipconfig /release
- ipconfig /renew
- NETSH winsock reset catalog
- NETSH int ipv4 reset reset.log
- NETSH int ipv6 reset reset.log
- Exit
So, by now following all the above-mentioned steps, your internet connection should work properly now in your Google Chrome.
FAQs:
- Is the DNS_PROBE_FINISHED_NO_INTERNET error exclusive to Chrome?
- While it’s commonly seen in Chrome, similar DNS errors can occur in other browsers as well.
- Can this error be caused by a virus or malware?
- It’s uncommon, but malware can potentially disrupt your internet connection or DNS settings, leading to this error.
- Should I always change my DNS server when I see this error?
- Not necessarily. It’s recommended to try other solutions like checking the internet connection or resetting DNS settings first.
- How do I know if the issue is with my ISP?
- If other devices on the same network are also experiencing connection issues, it might be an ISP-related problem.
- What should I do if none of the solutions work?
- If the issue persists, contacting your ISP or seeking professional technical support is advisable.
Understanding and resolving the DNS_PROBE_FINISHED_NO_INTERNET error is key to ensuring a smooth and uninterrupted internet experience. With these insights and solutions, users can effectively troubleshoot and eliminate this common online hurdle.
Read Also:
Conclusion
We hope that all the steps mentioned should help you solve your DNS_PROBE_FINISHED_NO_INTERNET error by now. In case if you are still facing the issue let us know. If you know any other solution for this same issue you can tell us.


